旧版cmd
在能访问github的情况下直接执行即可
C:\msys64\usr\bin\bash.exe -l -c ^ 'set -e; pacman -Syuu --noconfirm; ^ pacman -Sy --noconfirm --needed base-devel mingw-w64-x86_64-toolchain git flex mingw-w64-x86_64-cmake mingw-w64-x86_64-autotools mingw-w64-x86_64-python3; ^ export PATH=/mingw64/bin:/usr/local/bin:/usr/bin:/usr/bin/core_perl; ^ export LC_ALL=en_US.UTF-8; ^export LANG=en_US.UTF-8; ^ cd ~; git clone --depth 1 -b v4.228 https://github.com/verilator/verilator; ^ cd verilator; autoconf; ./configure --prefix=/mingw64; cp /usr/include/FlexLexer.h /mingw64/include; ^ make -j$(nproc); make install; cd ~; rm -rf verilator;'新版powershell

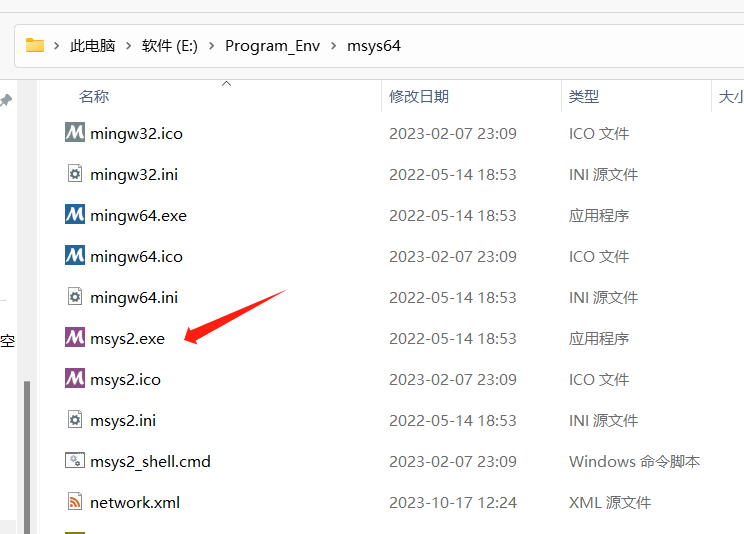
先打开你的mysy64下的mysy2.exe
执行下面代码
如果你之前安装了并且编译失败,请先删除home下面的verilator文件夹
cd ~
rm -rf verilator
set -e;
pacman -Syuu --noconfirm;
pacman -Sy --noconfirm --needed base-devel mingw-w64-x86_64-toolchain git flex mingw-w64-x86_64-cmake mingw-w64-x86_64-autotools mingw-w64-x86_64-python3;
export PATH=/mingw64/bin:/usr/local/bin:/usr/bin:/usr/bin/core_perl;
export LC_ALL=en_US.UTF-8;
export LANG=en_US.UTF-8;
cd ~;
git clone --depth 1 -b v4.228 https://github.com/verilator/verilator;
cd verilator;
autoconf;
./configure --prefix=/mingw64;
cp /usr/include/FlexLexer.h /mingw64/include;
make -j$(nproc);
make install;
cd ~;
rm -rf verilator;
添加环境变量
echo 'export PATH=$PATH:/mingw64/bin' >> ~/.bashrc && source ~/.bashrc
One comment
观点新颖,见解独到,发人深省。